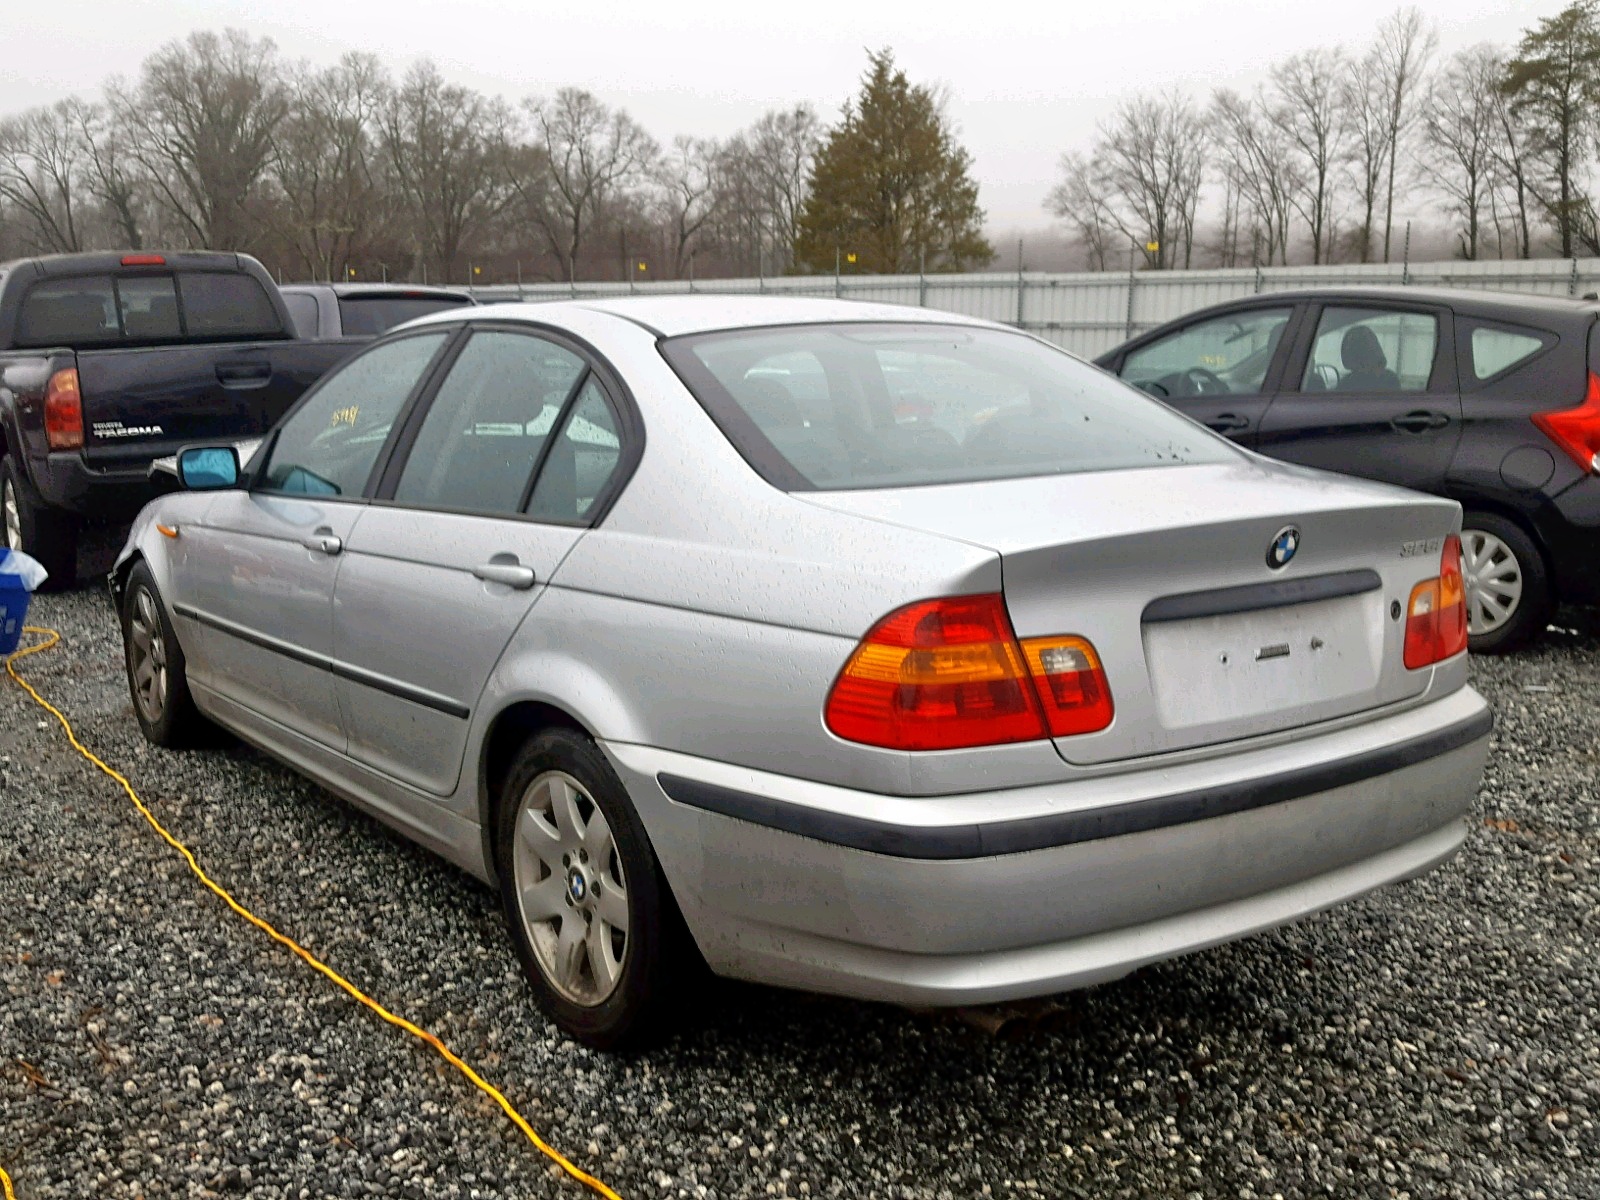

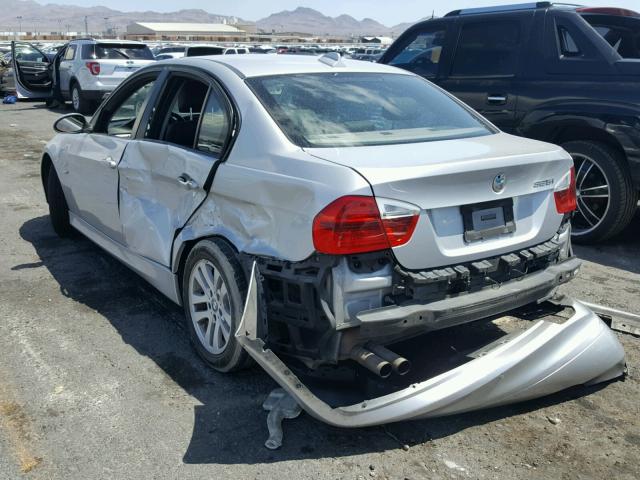
So you bought that salvage title vehicle at auction. The next step after you get the car is to make the repairs. Your goal is to get the vehicle roadworthy, and for that to happen it must pass inspection. You might need to photograph repairs to your salvage car Maybe your state is one of those that requires you to submit before and after photographs of the build. A friendly reminder: ALWAYS check your state’s regulations and the titling process. This article is purely informational and it’s not meant to be a comprehensive guide on what you need to submit to local authorities. That is something you need to research on your own.
All I Want Is A Photograph
Among the States that require before and after photographs of your vehicle are New Jersey and Connecticut. Let me add that even if your state doesn’t require photographs, it is a good practice to document your build. You can certainly try to provide pictures to supplement what you submit to inspectors. It might be useful to them while inspecting the car and potentially help your case.

You will need photographs, before and after the repairs take place. Usually, they have to be color photographs and “must be clear and cannot cut off any portion of the vehicle.”
New Jersey Salvage Title Inspection specifically requires:
At least 1 photo of the entire front and left side of the vehicle (before and after repairs). At least 1 photo of the entire rear and right side of the vehicle (before and after repairs). Note: If repairs were started before pictures could be taken, a damage report from your insurance company is required. This report will substitute only for the before photos.
Connecticut’s photo requirements are a little more detailed:
Clear photographs of the repaired/replaced areas of the vehicle are to be presented when inspected attached to the Salvaged Vehicle Repair Report. The photographs must clearly:
- 1. Show the entire vehicle by four photos, one from each vehicle corner i.e. left front, right front, left rear, right rear.
- 2. Show the damaged area(s) prior to repairs.
- 3. Show the repaired areas with the new parts/panels installed prior to any seam sealing, painting, or rust proofing.
- 4. Show how the new parts were attached (welding).
- 5. Show the area prior to painting and corrosion proofing (if the area is no longer visible).
Photograph The Salvage Vehicle Before, During And After Repairs
You can clearly see that Connecticut requires you to show how new parts were welded, while New Jersey doesn’t require that kind of detail. But, even if that wasn’t the case, you can still take extensive photographs during the actual repairs. Providing photos of a new replacement quarter panel being attached and welded to the frame is good evidence of work performed using good parts. Pictures of that same panel being primed and painted shows what is currently on the car.
Pictures during the repair process (e.g. after removing paint) can show the true extent of damage you might not catch during the standard “before” pictures. Other pictures can show exposed areas of the car in good condition. This type of evidence can be useful for showing to banks, insurers, and potential buyers down the road. It tells everyone what was the problems were and how they were fixed.